How to Change Brake Pads on a Volvo XC60 – A Complete DIY Guide

Ever heard that gut-wrenching screech when you hit the brakes? Yeah, that’s your Volvo XC60 crying for new brake pads. Don’t worry – you’re about to become your car’s hero!
Changing brake pads on a Volvo XC60 isn’t rocket science. You can save a bundle and feel like a proper mechanic with the right tools and some elbow grease. In this guide, we’ll walk through the process step-by-step, from gathering your gear to taking that first smooth, squeal-free ride. So roll up your sleeves, and let’s dive in!
Tools and Materials Needed for Changing Volvo XC60 Brake Pads
Before getting our hands dirty, let’s ensure we’ve got all our ducks in a row. Trust me, there’s nothing worse than being elbow-deep in brake dust and realizing you’re missing a crucial tool.
Essential Tools
First things first, you’ll need some basic tools:
- A 19mm socket (this is your new best friend)
- Jack stands (because nobody likes a flattened mechanic)
- Lug wrench (to show those wheel nuts who’s boss)
- Torque wrench (for when “finger-tight” just won’t cut it)
If your XC60 is fancy enough to have electronic parking brakes, you’ll also need a special tool to retract the piston. Don’t worry, we’ll get to that later.
Now, for the cleaning crew:
- Brake cleaner (because brakes like it clean)
- Anti-seize grease (to keep things moving smoothly)
- Silicone spray (for that extra bit of TLC)
Required Parts
Now for the star of the show – the parts:
- New brake pads (obviously)
- New brake rotors (if yours look like the surface of the moon)
- Brake caliper hardware (optional, but recommended – like flossing)
Pro tip: Always go for quality parts. Your Volvo deserves better than bargain bin brakes!
Preparing Your Volvo XC60 for Brake Pad Replacement
Alright, time to get this show on the road – or rather, off the road.
Park and Secure the Vehicle
First things first, find a nice flat spot to park. You don’t want your Volvo doing the cha-cha while you’re working on it.
- Engage the parking brake and put the car in park (or first gear for manual transmissions).
- Loosen the lug nuts on the wheels you’ll be working on. Don’t remove them yet – we’re just breaking their spirit.
- Jack up the car using the designated jacking points. Check your owner’s manual if you’re not sure where these are.
- Once the car is up, place the jack stands under the appropriate support points. Safety first, folks!
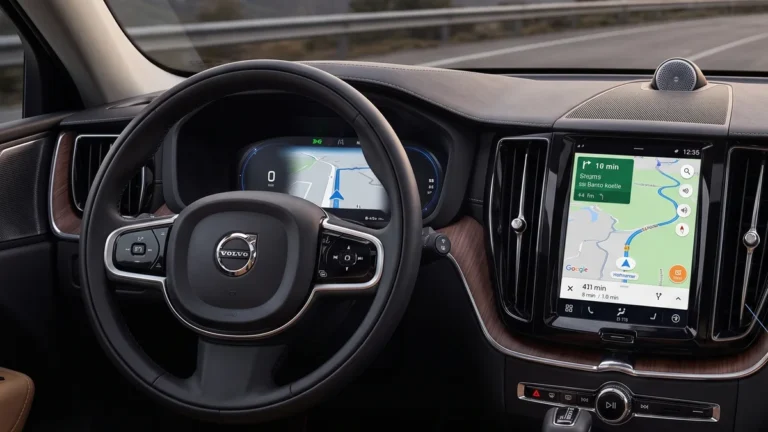
If your XC60 has an electronic parking brake, you must put it in service mode. This usually involves going through the car’s infotainment system. If you can’t find it, don’t worry – we’ll cover this in more detail later.
Removing the Wheels
Now for the heavy lifting:
- Remove the lug nuts completely and set them aside. Pro tip: put them in a container so they don’t roll away and hide under your workbench.
- Carefully remove the wheel. These things are heavier than they look, so lift with your legs, not your back!
- Place the wheel somewhere safe, face down. You don’t want to scratch that fancy Volvo alloy.
Repeat this process for all the wheels you’re working on. Remember, brake pads usually wear evenly, so it’s a good idea to replace them in pairs (both front and rear).
Removing Old Brake Pads from Your Volvo XC60
Now we’re getting to the good stuff. Time to get up close and personal with your brakes.
Releasing the Brake Caliper
The caliper is that big, usually blue or black, thing hugging your brake rotor. A couple of bolts holds on it:
- Locate the caliper bolts. They’re usually on the back of the caliper.
- Using your 19mm socket, remove these bolts. They might be a bit tight, so put some muscle into it!
- Once the bolts are out, gently pry the caliper off the rotor. Be careful not to let it hang by the brake hose – that’s a recipe for disaster.
I remember the first time I did this on my old Volvo S60. I was so nervous about damaging something that it took me about 20 minutes to remove one caliper. Trust me, it gets easier!
Removing the Brake Pads and Rotors
Now for the main event:
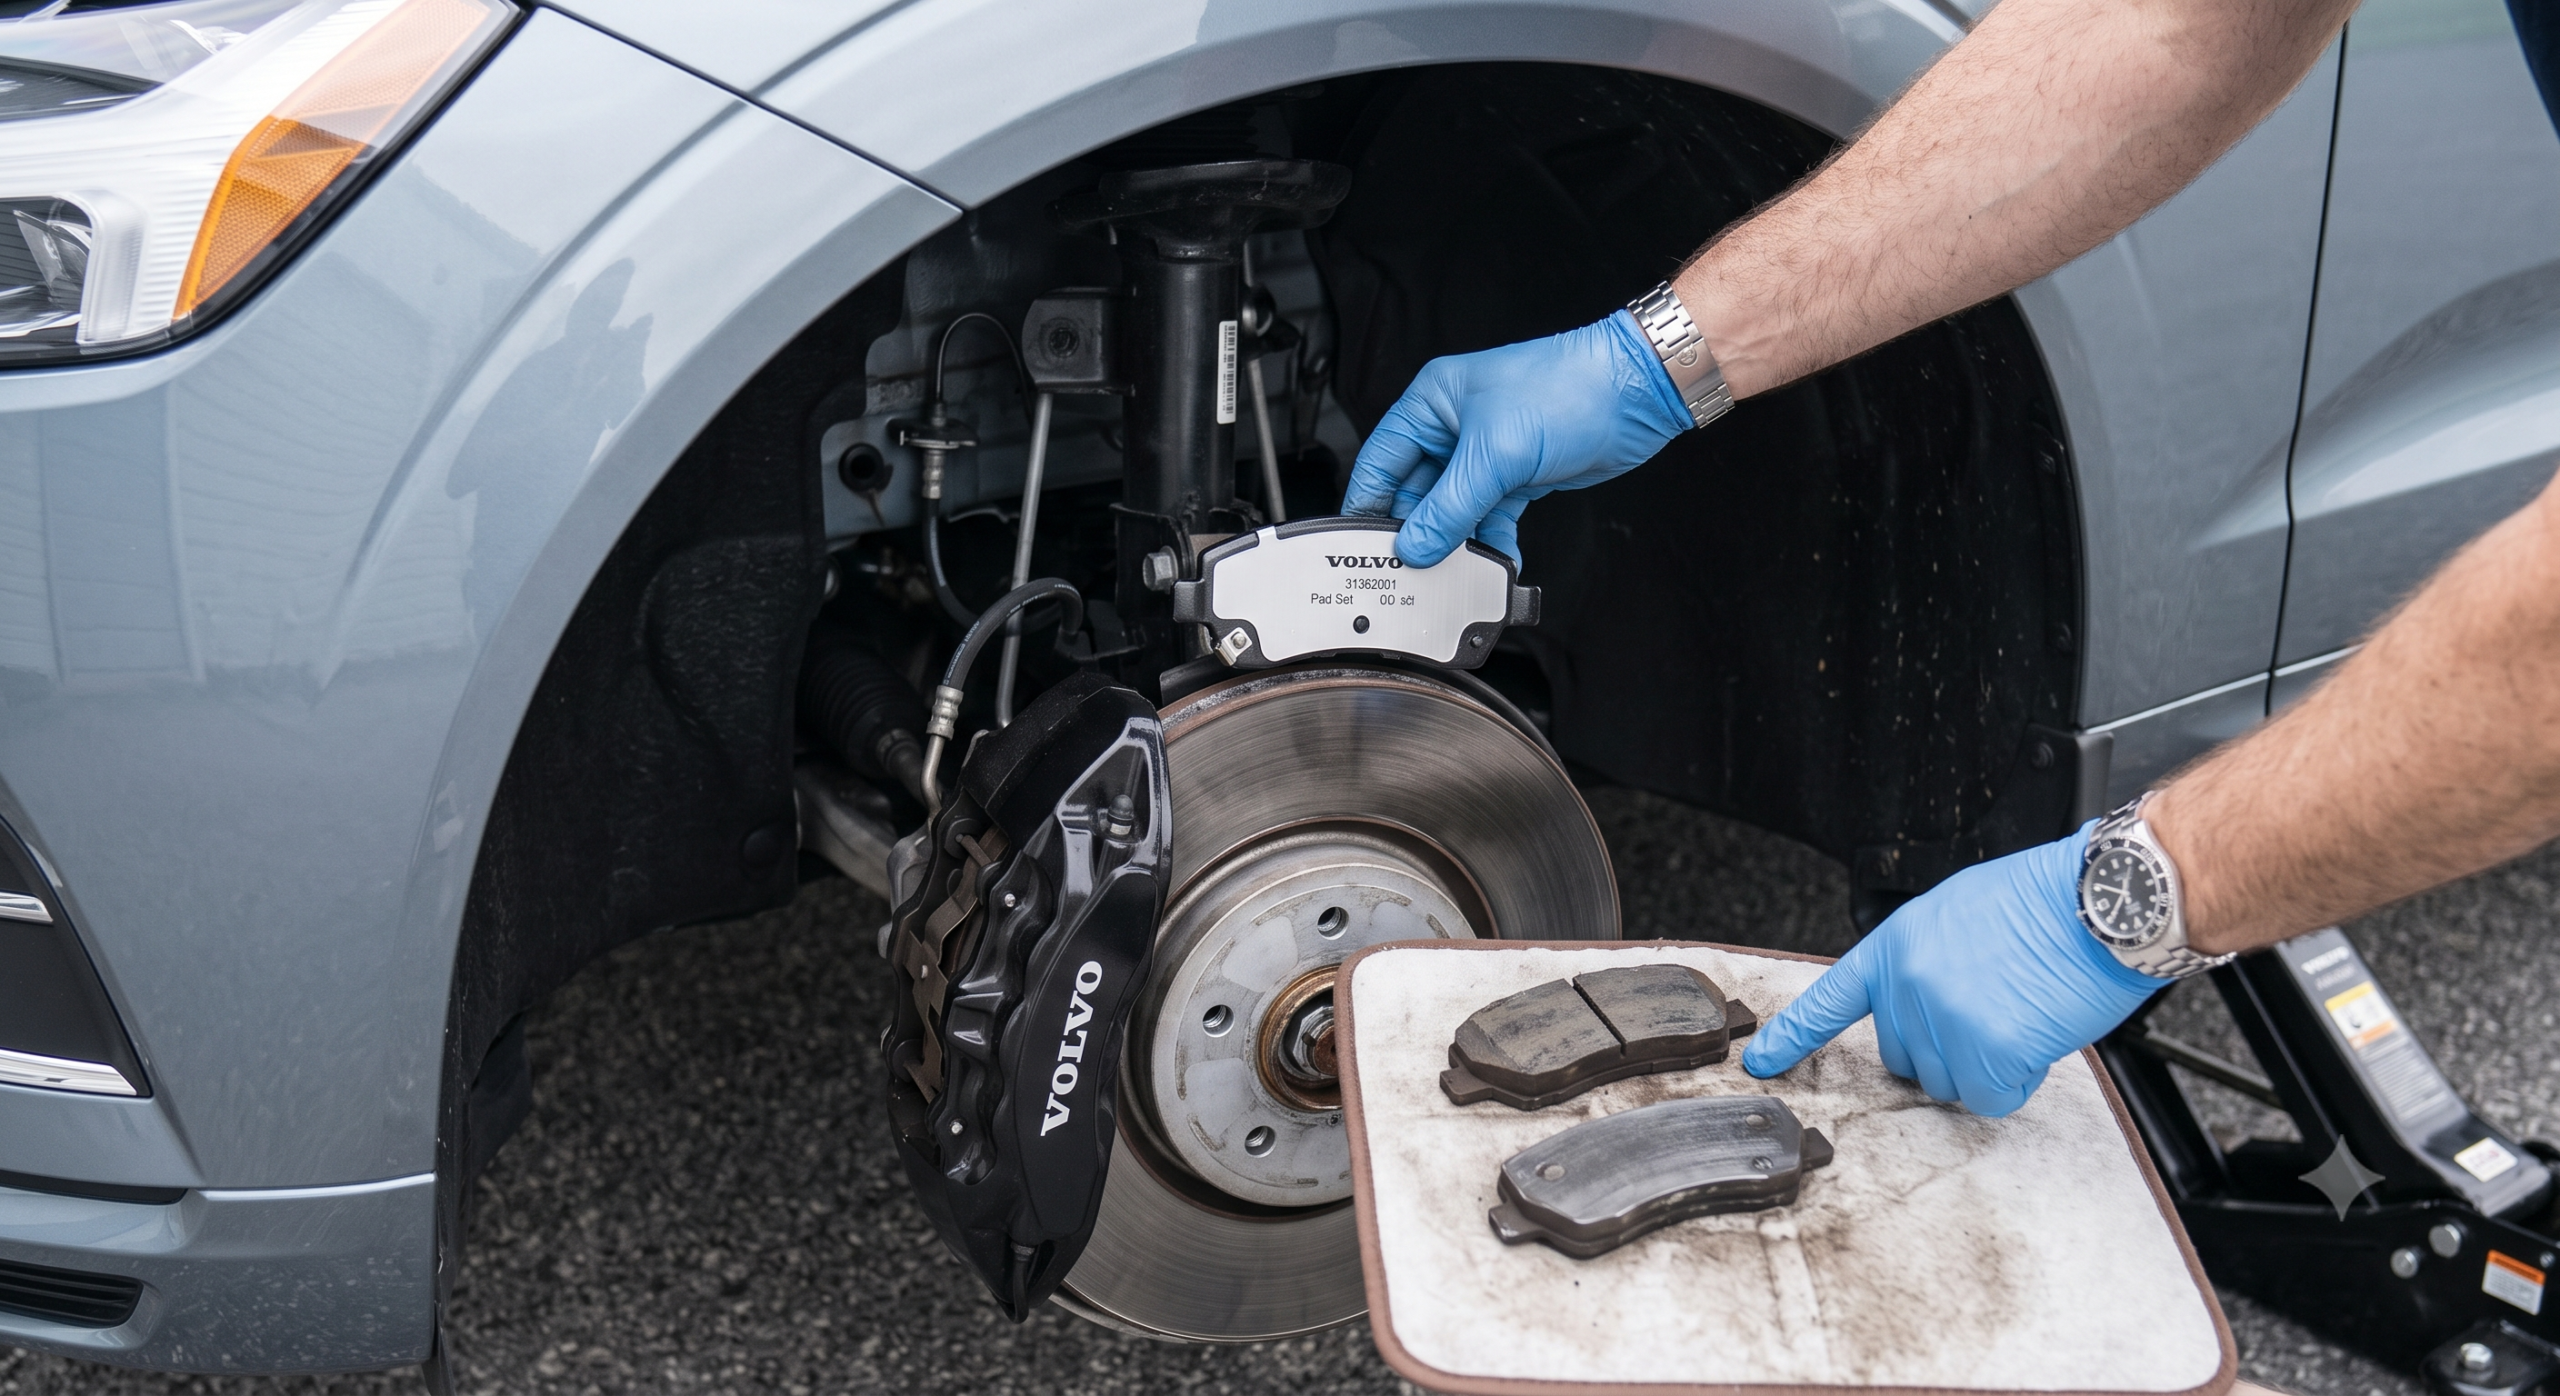
- With the caliper off, you should be able to see your old brake pads. They’ll probably look pretty worn – maybe even have a nice groove where they’ve been rubbing against the rotor.
- Remove the old pads. They usually just slide out, but sometimes, they like to put up a fight.
- If you’re replacing the rotors (and you probably should if they’re looking rough), now’s the time to take them off. There might be a screw holding it in place, or it might just slide right off the hub.
- Give everything a good spray with brake cleaner. It’s satisfying watching all that brake dust disappear!
Installing New Brake Pads on a Volvo XC60
Out with the old, in with the new! This is where you start to feel like a real mechanic.
Installing New Rotors (If Needed)
If you’re replacing the rotors:
- Take a wire brush to the hub where the rotor sits. Get rid of any rust or corrosion. It should be nice and shiny when you’re done.
- Slide the new rotor onto the hub. It should fit snugly.
- If there was a screw holding the old rotor, put it back in. Don’t go crazy tightening it – just snug is fine.
Fitting New Brake Pads
Now for the pièce de résistance:
- Take your new brake pads and slide them into the caliper bracket. They should fit pretty much the same way the old ones came out.
- If you want to avoid that annoying brake squeal, put a thin layer of anti-seize on the back of the pads where they contact the caliper piston. Just don’t get any on the front of the pads!
Fun fact: The first time I changed my brakes, I put the pads in backward. Luckily, I realized before I took it for a spin. Learn from my mistakes, folks!
Reassembling and Testing Your Volvo XC60 Brakes
We’re in the home stretch now. Time to put everything back together, and I hope we didn’t end up with any extra parts!
Reattaching the Caliper
Before we can put the caliper back on, we need to push the piston back in:
- If you have a piston retraction tool, use it to push the piston back into the caliper slowly. If you don’t have the tool, you can sometimes use the old brake pad and a C-clamp, but be careful not to damage anything.
- Once the piston is retracted, position the caliper over your new pads and rotor.
- Put the caliper bolts back in and tighten them to the proper torque. Your Volvo manual should have the exact specs, but it’s usually around 30 ft-lbs.
Reinstalling the Wheels
Almost there:
- Lift your wheel back onto the hub. Again, lift with your legs!
- Put the lug nuts back on and tighten them by hand.
- Lower the car back down to the ground.
- Use your torque wrench to tighten the lug nuts to the proper spec. For most Volvos, it’s around 100 ft-lbs, but check your manual to be sure.
Repeat this process for all the wheels you worked on. Then step back and admire your handiwork!
Tips for Ensuring Proper Brake Performance
You’re not quite done yet. New brakes need a little TLC to perform their best.
Brake Pad Bedding Process
Bedding in your brakes is crucial for optimal performance:
- Find a quiet road with no traffic.
- Accelerate to about 35 mph and then brake firmly to about 5 mph. Don’t come to a complete stop!
- Repeat this process about 10-15 times.
- Then do 2-3 stops from 55 mph to 5 mph.
- Drive around without using the brakes much to let them cool down.
This process helps transfer a thin layer of brake pad material to the rotor, which improves braking performance.
Common Mistakes to Avoid
Learn from the school of hard knocks:
- Don’t over-tighten bolts. You’re not trying to win a strength contest here.
- If you have electronic parking brakes, return to normal mode when you’re done.
- If your brake pedal feels spongy, you might need to bleed the brakes. That’s a whole other tutorial, though!
FAQs on Volvo XC60 Brake Pad Replacement
Let’s tackle some common questions:
How Often Should You Replace Brake Pads on a Volvo XC60?
Volvo recommends replacing brake pads every 30,000 to 40,000 miles. But this can vary depending on your driving habits. If you’re always zipping through the mountains or stuck in stop-and-go traffic, you might need to replace them sooner.
I once tried to stretch my brake pads to 50,000 miles. Let’s just say the noise was… impressive. Don’t be like me – check your pads regularly!
How to Know When Brake Pads Are Worn Out?
Your Volvo will usually let you know when it’s time for new pads:
- You might hear a high-pitched squeal when braking. That’s the wear indicator doing its job.
- Your brake pedal might feel different – softer or pulsating.
- Some Volvos have a dashboard warning light for brake pad wear.
If you’re unsure, you can always take a peek through the wheel spokes. If the pad looks thinner than 1/4 inch, it’s probably time for a change.
Do You Need to Replace Rotors Every Time You Change Pads?
Not necessarily, but it’s often a good idea. Rotors wear down over time; new pads on worn rotors can lead to poor braking performance. If your rotors have deep grooves or feel rough, it’s time for new ones.
Volvo XC60 Brake Pad Replacement Cost Breakdown
Let’s talk money – everyone’s favorite topic!
DIY vs Professional Replacement Costs
Doing it yourself can save you a bundle:
- DIY cost: About $100-$200 for pads, maybe another $100-$200 if you need rotors.
- Professional service: This can run anywhere from $300 to $800, depending on your location and whether you need new rotors.
The first time I changed my brakes, I felt like I’d won the lottery with the money I saved!
Cost-Saving Tips for Brake Maintenance
- Shop around for parts. You don’t always need OEM parts, but be wary of cheap options.
- Consider ceramic pads. They’re a bit pricier upfront but tend to last longer.
- Learn to do it yourself! It’s not as hard as you might think, and you’ll save a ton in the long run.
Advanced Troubleshooting and Maintenance
For those feeling extra adventurous:
Dealing with the Volvo XC60 Electronic Parking Brake
If your XC60 has an electronic parking brake, you’ll need a scan tool to reset it:
- Connect the scan tool to your car’s OBD-II port.
- Navigate to the electronic parking brake menu.
- Select “Service Mode” or “Maintenance Mode.”
- Follow the prompts to retract the parking brake.
Remember to set it back to normal mode when you’re done!
Brake System Warning Lights
If you’ve changed your pads and you’re still seeing warning lights:
- Make sure you’ve properly seated all components.
- Check that the wear sensors are properly connected.
- You might need to reset the warning light using a scan tool.
It might be time to swallow your pride and visit a professional if all else fails. Sometimes, even DIY heroes need a little help!
And there, you have everything you need to know about changing brake pads on your Volvo XC60. Remember, if you feel out of your depth at any point, there’s no shame in calling in the pros. But with a little patience and elbow grease, you might surprise yourself with what you can accomplish. Happy wrenching!